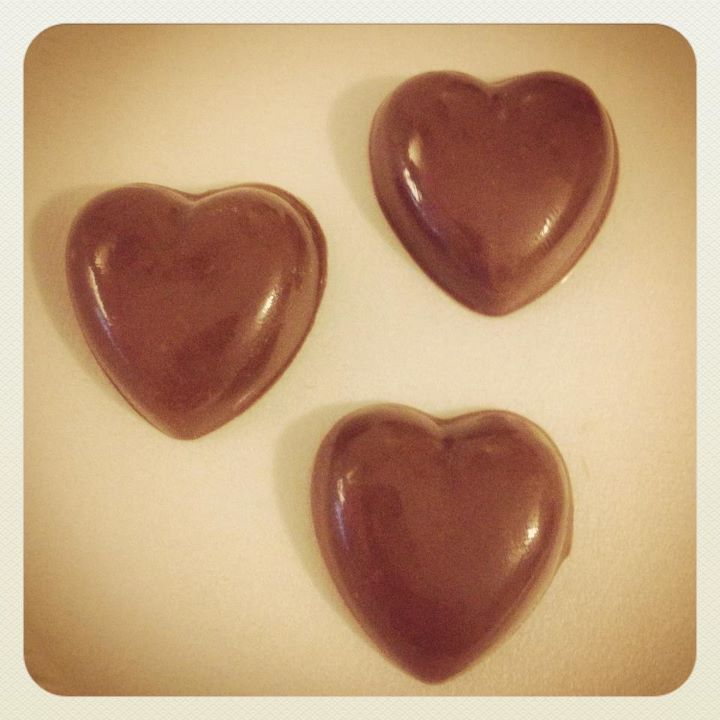
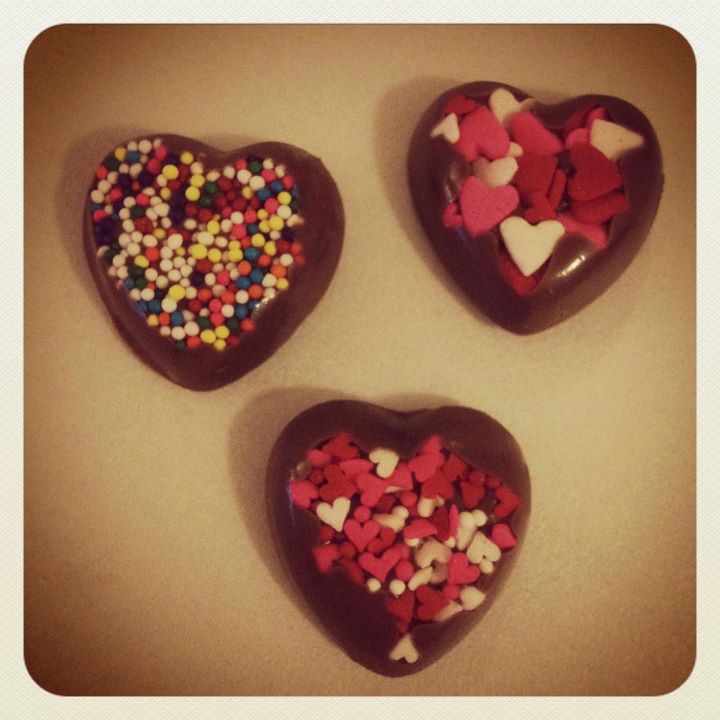
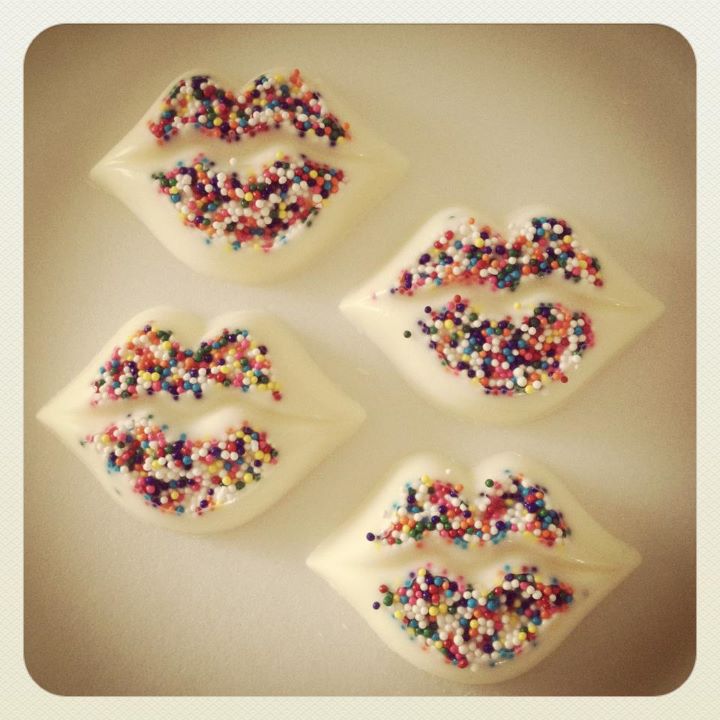
I made chocolate lollipops for my son's Valentine's Day party at school. I used Wilton candy molds, Wilton colored chocolate wafers, a few different sized paint brushes and, a lot of patience. I used the pink, red and milk chocolate wafers to accent the molds and the white chocolate to fill them in.
(Click on an image to enlarge)
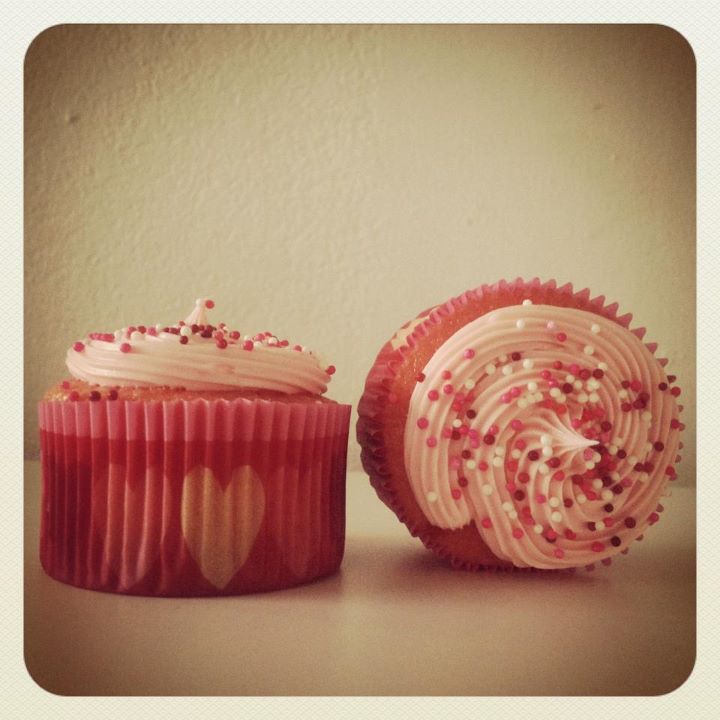
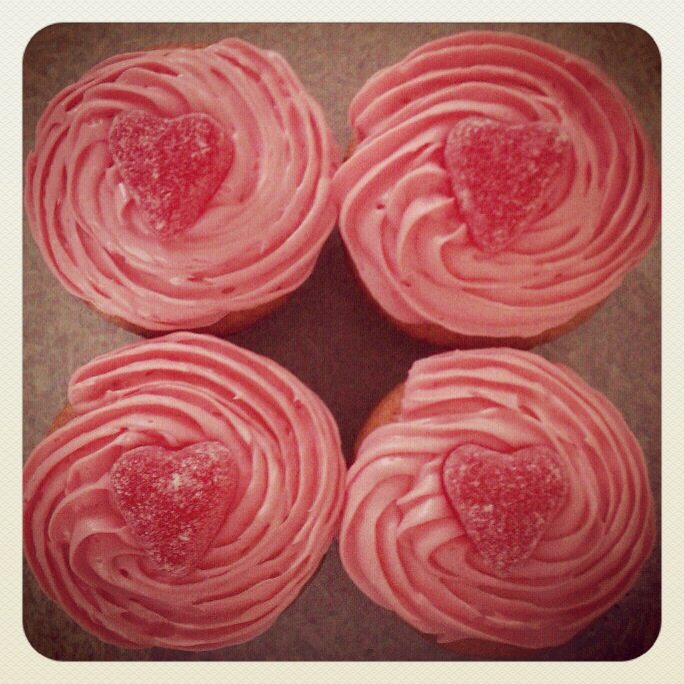
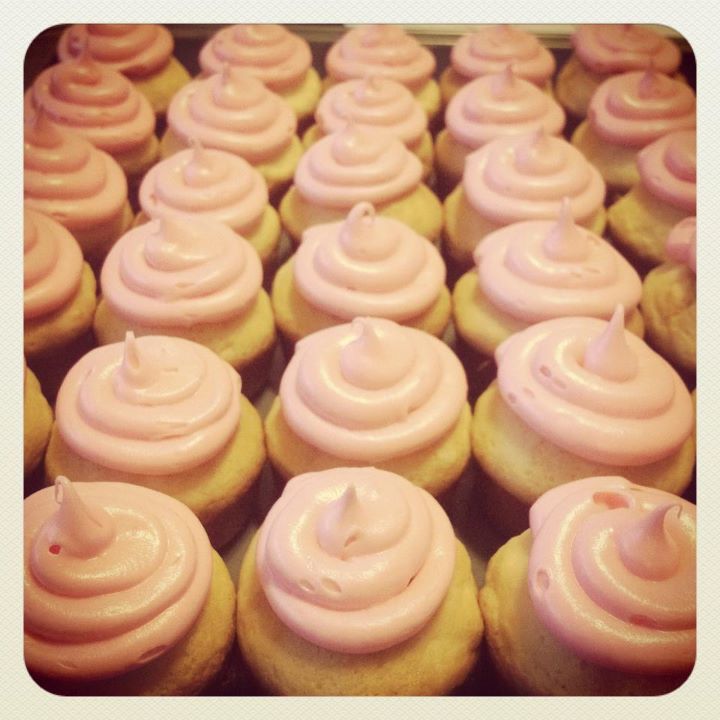
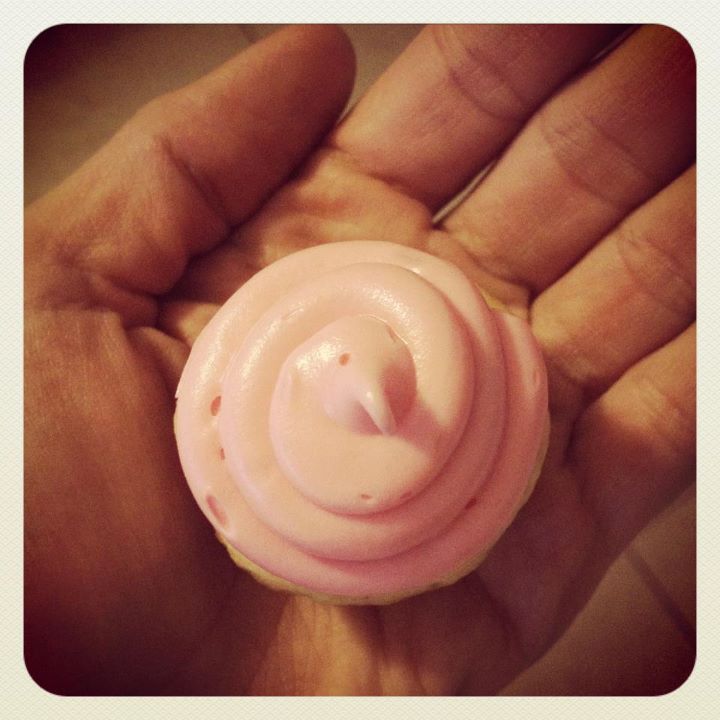
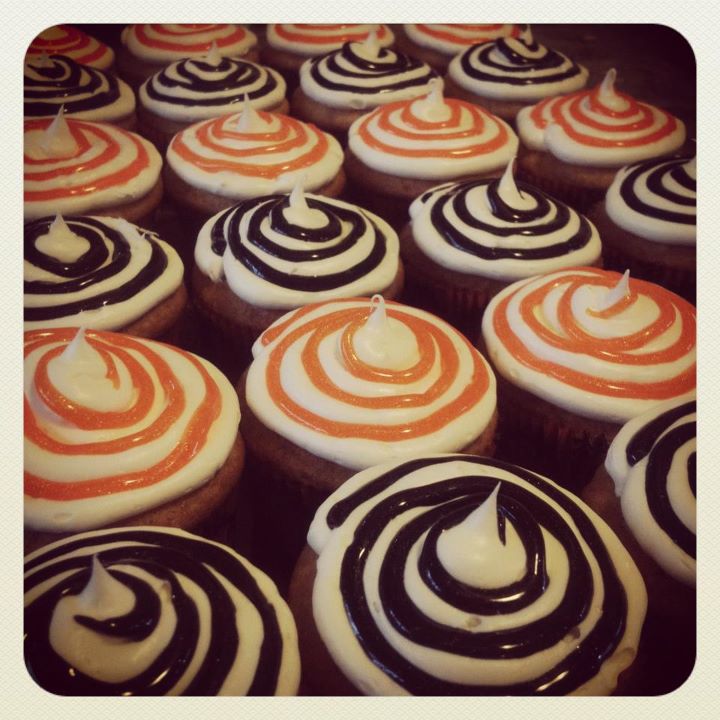
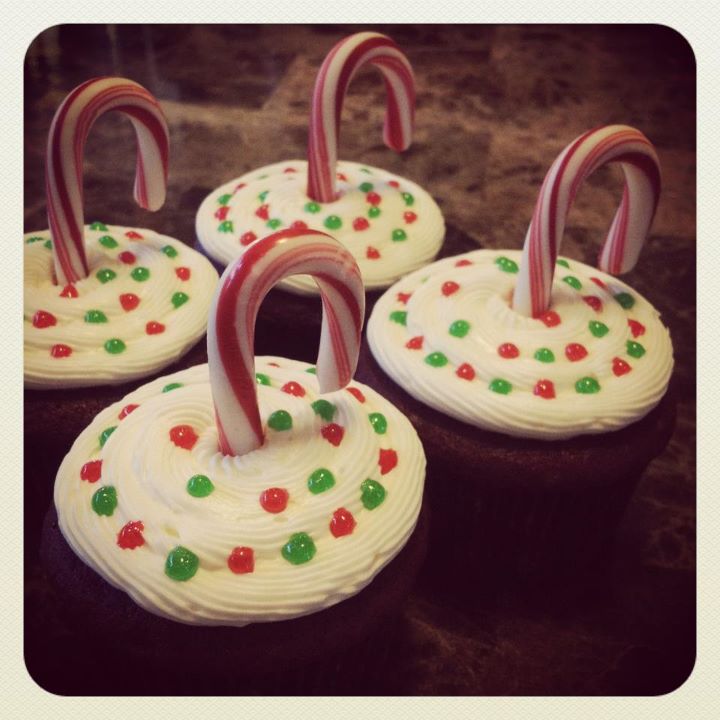
Then, I made strawberry cupcakes for the assisted living facility that my step-grandma lives in. Well, my mom baked them (this time) and I decorated them. I was going to make marshmallow frosting, but I had a very busy, tiring weekend and was being lazy. So, I mixed one can of strawberry and one can of cream cheese frosting together.  The results; delicious.

Go here to get the recipe: http://www.krissys-creations.com/2011/08/strawberry-cupcakes-with-marshmallow.html


(Click an image to enlarge)
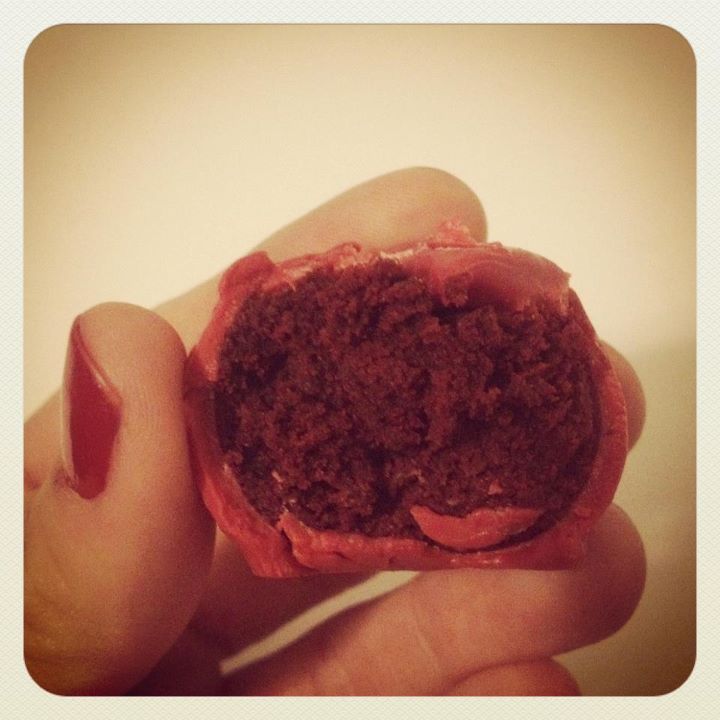
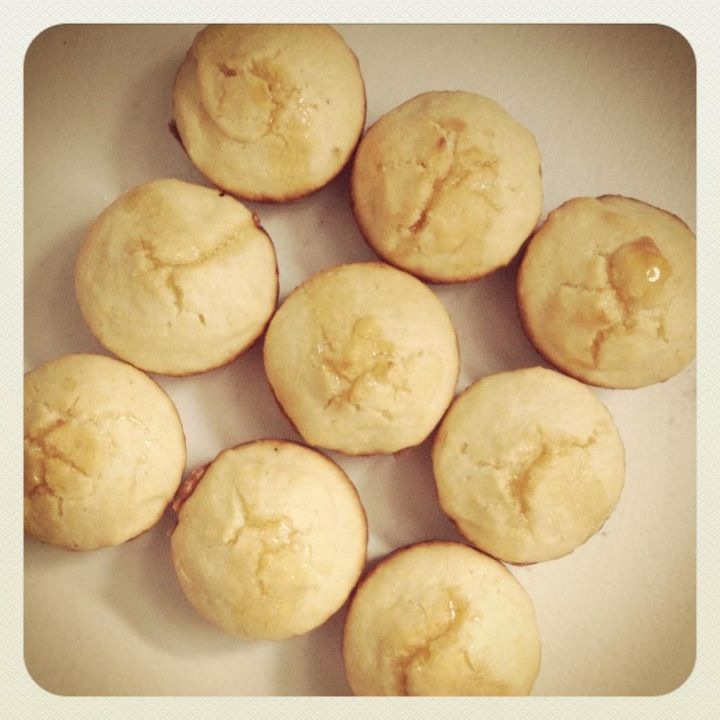
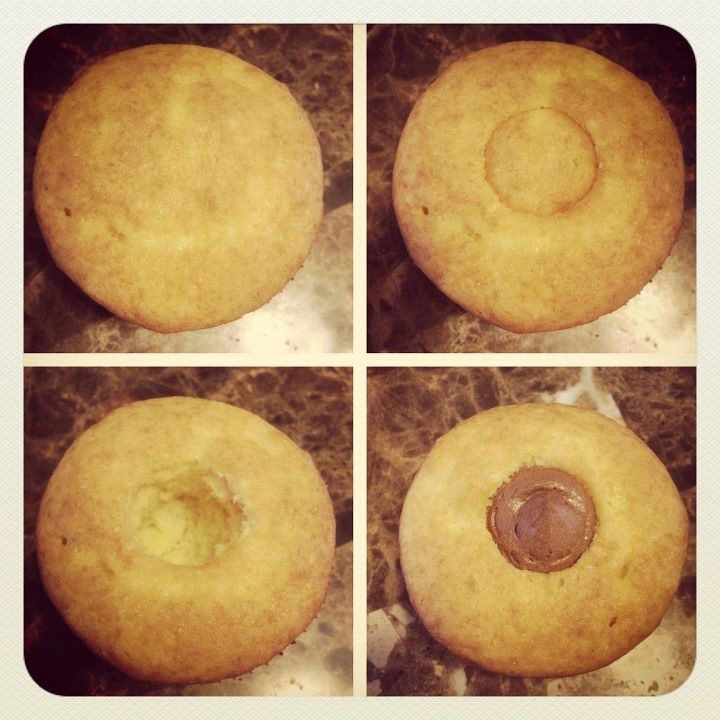
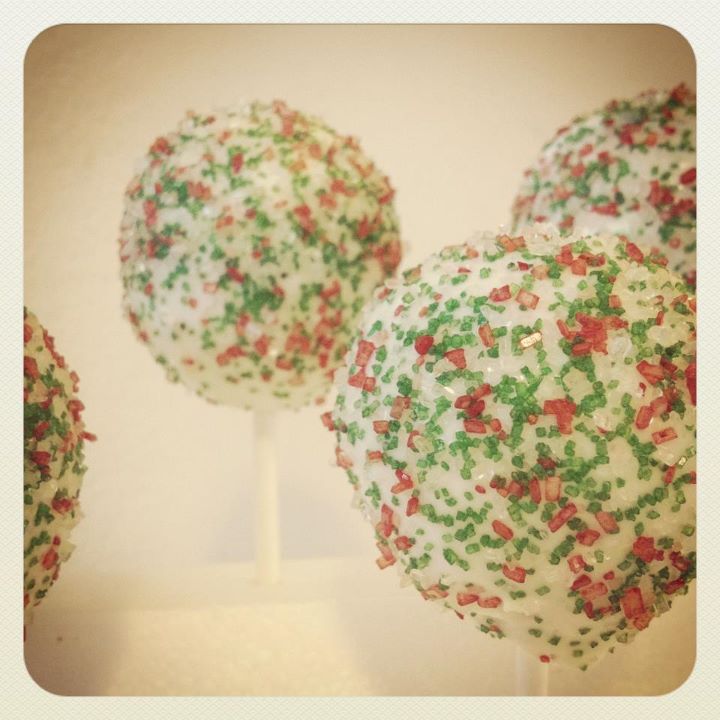
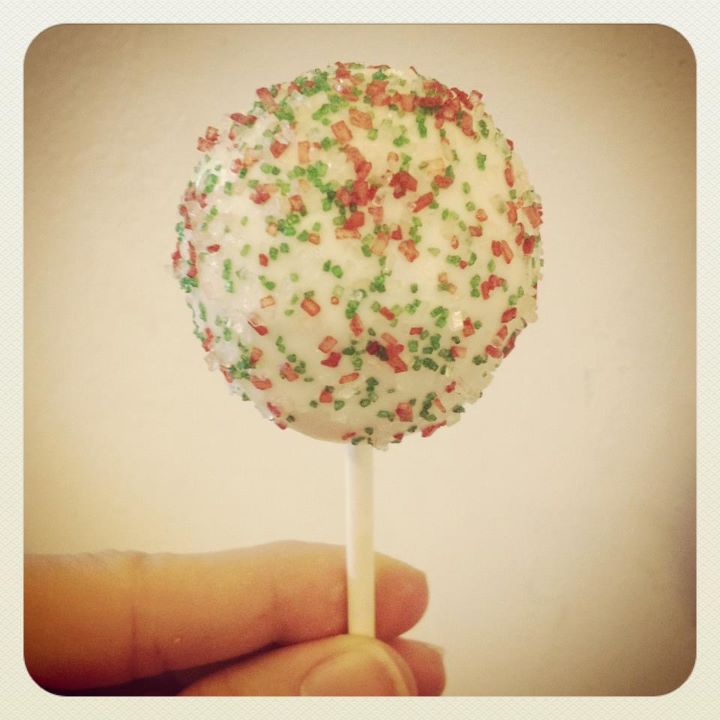
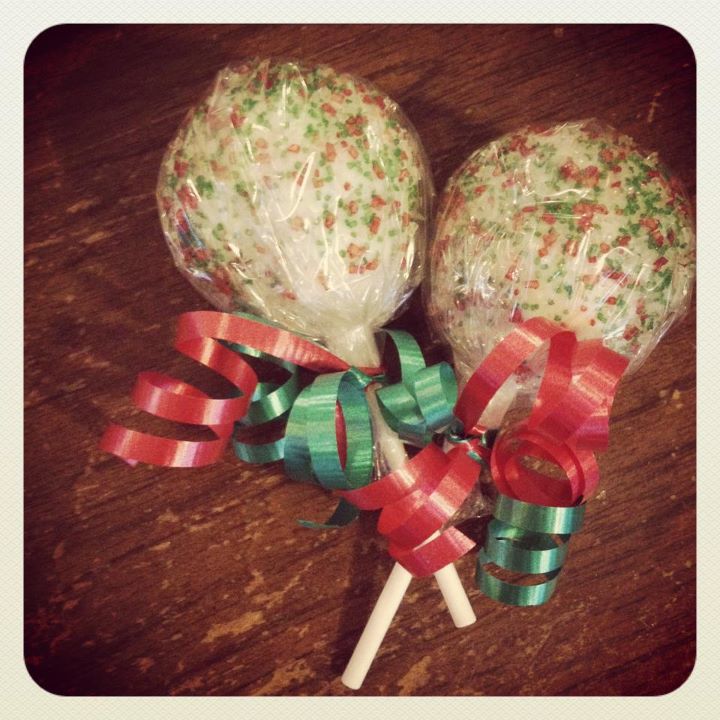
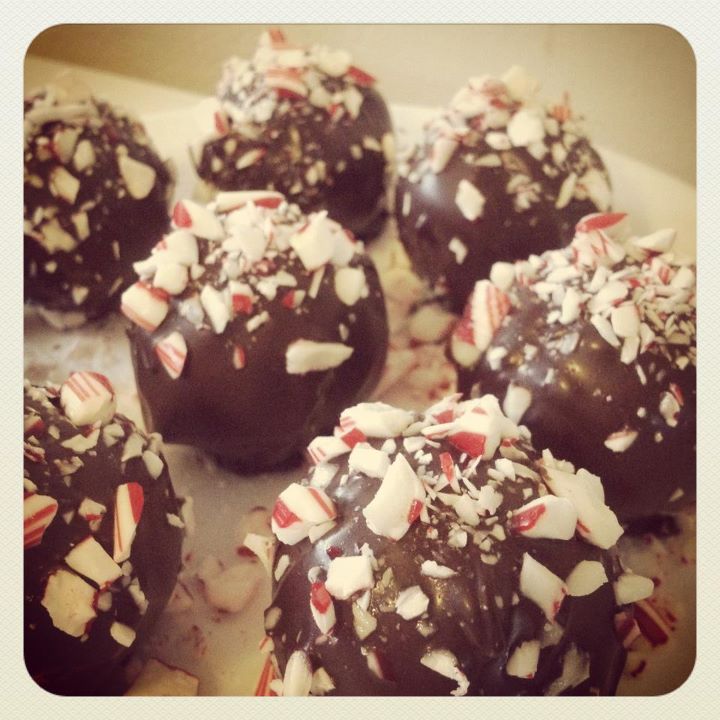
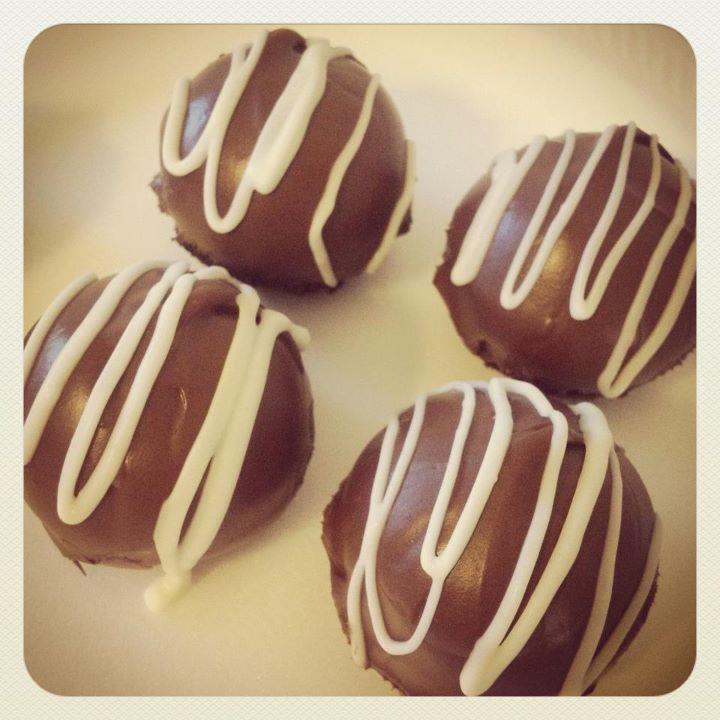
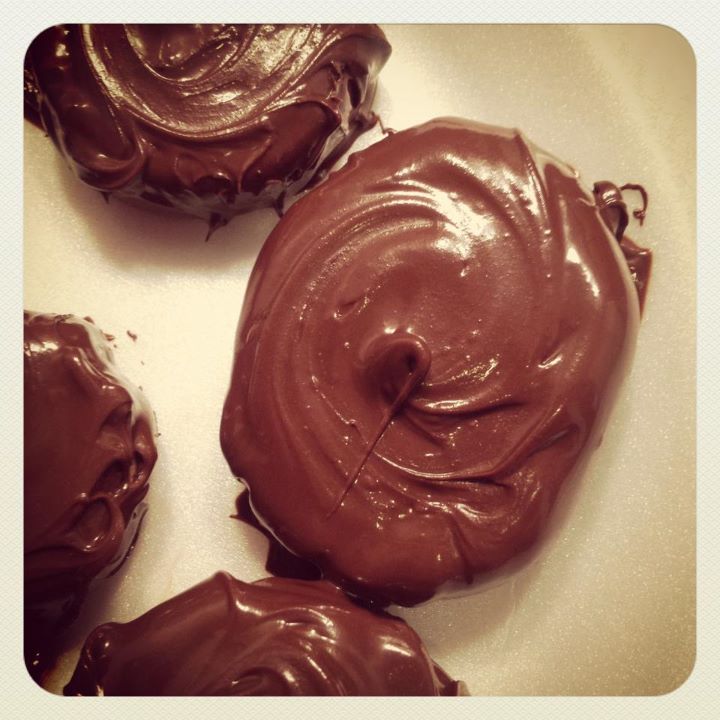
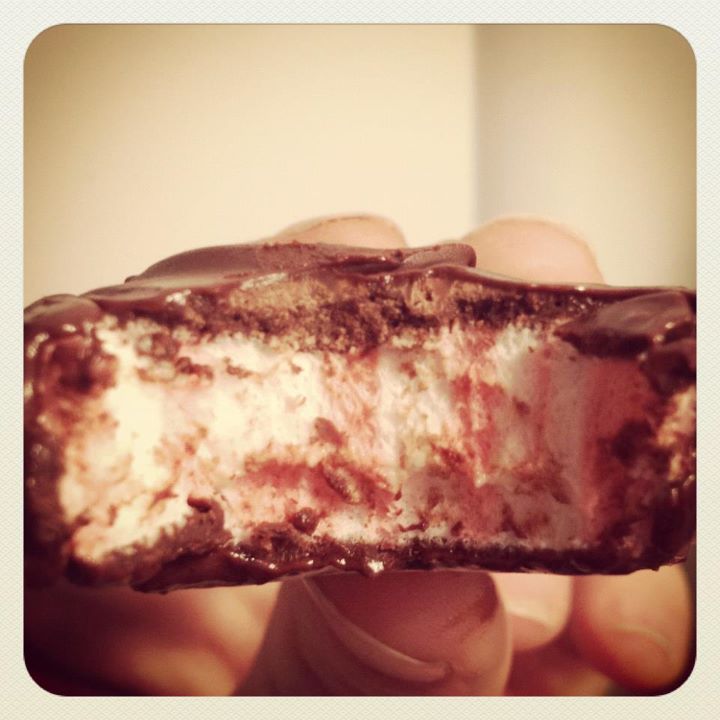
My mom had started to make mini red velvet cupcakes, but didn't like the way they turned out. So, we added some frosting to bind it together and I made chocolate covered red velvet cake balls. She used boxed mix for the initial cupcakes so, I don't have a recipe to give. And, I used the red Wilton chocolate wafers to cover them.

(Click on a picture to enlarge)
Enjoy!
 
I just wanted to say that the reason I don't have any many posts as the other girls is because I didn't have a food blog before this. They already had all kinds of delicious recipes and ideas to transfer over here. Plus, I've been without a proper kitchen for  months now due to black mold issues, the start of renovations and the insurance company not wanting to pay. But, I should have my money within 6-8 weeks; there's $70,097.09 worth of damage. Once it's in my possession and I have a kitchen with actual counters and a sink,  I will be baking a lot more often! If you're curious, you can check out some pictures of the damage here: https://www.facebook.com/media/set/?set=a.10150275678017974.353984.633242973&&l=0ba0d6cf20

-Nicole
 
For lack of a better saying, I'm "PMSing like a mofo" and in desperate need of CHOCOLATE!!!!!

That being said, I took some white chocolate, put it in a bowl, melted it in the microwave (30 second increments, stir frequently)  threw in some slivered almonds, spread it into a thin layer, melted the milk chocolate, drizzled it on top and stuck it in the fridge to harden (about 15 minutes). Once it's hardened, break it into pieces and enjoy!!!

Because it was a last minute thing, I didn't measure anything out, but basically, you can add as much chocolate as you want and as many almonds as you want. Me, personally, I like it chunky with lots of almonds! This is also the same method I use to make peppermint bark!


(Click on an image to enlarge)
 
Here are just some of the goodies I've made in the past.

(Click on an image to enlarge)
 
These are BY FAR the BEST chocolate chip cookies I've ever had! I've made them for many people and they all agree that they are DELICIOUS! I honestly believe it's because of the "secret ingredient," pudding! The recipe calls for semi-sweet chocolate chips, but I prefer milk chocolate. I've also used white chocolate for people who prefer it. In the future, I plan on using dark, caramel and peanut butter chips. One time, I omitted the chips completely and made sugar cookies!

Ingredients
  • 4 1/2 cups all-purpose flour
  • 2 teaspoons baking soda
  • 2 cups butter, softened
  • 1 1/2 cups packed brown sugar
  • 1/2 cup white sugar
  • 2 (3.4 ounce) packages instant vanilla pudding mix
  • 4 eggs
  • 2 teaspoons vanilla extract
  • 4 cups semisweet chocolate chips
  • 2 cups chopped walnuts (optional)
Directions
  1. Preheat oven to 350 degrees F (175 degrees C). Sift together the flour and baking soda, set aside.
  2. In a large bowl, cream together the butter, brown sugar, and white sugar. Beat in the instant pudding mix until blended. Stir in the eggs and vanilla. Blend in the flour mixture. Finally, stir in the chocolate chips and nuts. Drop cookies by rounded spoonfuls onto ungreased cookie sheets.
  3. Bake for 10 to 12 minutes in the preheated oven. Edges should be golden brown.

My Notes:

(As is, this recipe yields 72 cookies. I usually half it and use a 1/8 c measuring cup to measure out each cookie amount. I bake them for 11 minutes exactly and they come out perfect! I also let them cool on the cookie sheet for a few minutes before transferring them to a wire cooling wrack to cool completely.)

(Click on an image to enlarge)